I thought there might be quilters who had tops they could donate if they were quilted, so I offered to help by providing the longarm quilting. A few people have contacted me to send quilts, so you can watch for those quilts to show up here on the blog. I can't wait to partner with others to send several quilts in the next few weeks.
In the meantime, I pulled a few fabrics from my stash in Tupelo blue and gold, and am going to whip up a double pinwheel quilt. For today's blog, I thought I'd do a quick tutorial on this awesome block. It's one of my favorites; in fact, it was one of the first quilts I ever made for myself, way back in Alaska in 1993 or so.
A double pinwheel is just the combination of two quarter square triangles and one half square triangle to make one section of a four patch block. Usually I make 8 inch finished double pinwheels, but for this quilt, I decided to make 12" blocks. That's one of the best parts of a four patch block. It's super easy to do the math to make 6", 8" or even 4" finished units.
Choose three high contrast fabrics for your block. I had a pretty white-on-white floral to go with my blue and gold.
Cut two of your fabrics to make quarter square triangles the size needed for your finished block. I'm making 12" finished blocks, so one-fourth of that block will be a 6" finished unit. The rule to make quarter square triangles is to add 1 1/4" to your finished size. I cut both my white and gold fabrics 7 1/4" and then crosscut them on both diagonals in an X.


Cut your third fabric to make half square triangles. The rule with half square triangles is to add 7/8" to the size you need...so I cut 6 7/8" squares and cut them on one diagonal like "/".


You will need one square quartered of two fabrics, and two squares halved of a third fabric for each block.
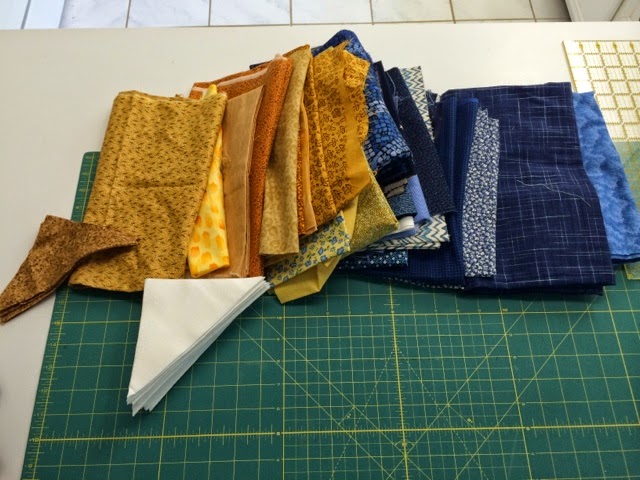
Go ahead and make a big pile! I decided 35 blocks (5x7 setting) will be big enough before borders...60x84, and I'll make a border decision as I go.

First sew your quarter square triangles together along the short sides.

Press your seams to the dark side like a good Jedi.

Line up a half square triangle with your two quarter square unit. Then sew along the long hypotenuse to form the section of the block. Press toward the large triangle.

A simple twist of the four identical units centers a small pinwheel on point, and a large pinwheel square.


To me, the real magic occurs when you start setting a bunch of these blocks together. Double pinwheels become triple pinwheels and spin all over the place!

Go make some double pinwheels! They make a great baby quilt, too! Here's one I made for a friend a couple of years ago...that just happens to be very similar in color choices! These are 8" blocks (so I cut the squares 5.25" and 4 7/8").

I'll show you the finished top later!
Here's a few blocks I pieced last night. My dear friend Paula doubled my efforts by piecing alongside me at our quilting group last night.

Thanks for sharing.
ReplyDeleteThanks for stopping by! Share your double pinwheel with me when it's done!
DeleteThank you for this tutorial about pinwheel blocks. I'm trying to teach myself and my blocks are kinda turning out all kinds of sizes. This should help a bit.
ReplyDelete