I taught a workshop at my local quilting guild on Saturday, January 20, using my
"Leftovers" pattern. It was less about this-not-very-complicated-pattern, and more about the quick piecing techniques and quick cutting techniques I routinely employ to finish numerous quilts in a very short time.
One of the techniques I demonstrated was "webbing a quilt top." It's like chain piecing on steroids. I love to web a top, and I use it to put blocks together, sections of quilts together, and entire quilt tops whenever possible. It means I can lay everything out on the floor, decide how I like it, pick it ALL up at one time, then sew, sew, sew until the top is pieced.
 |
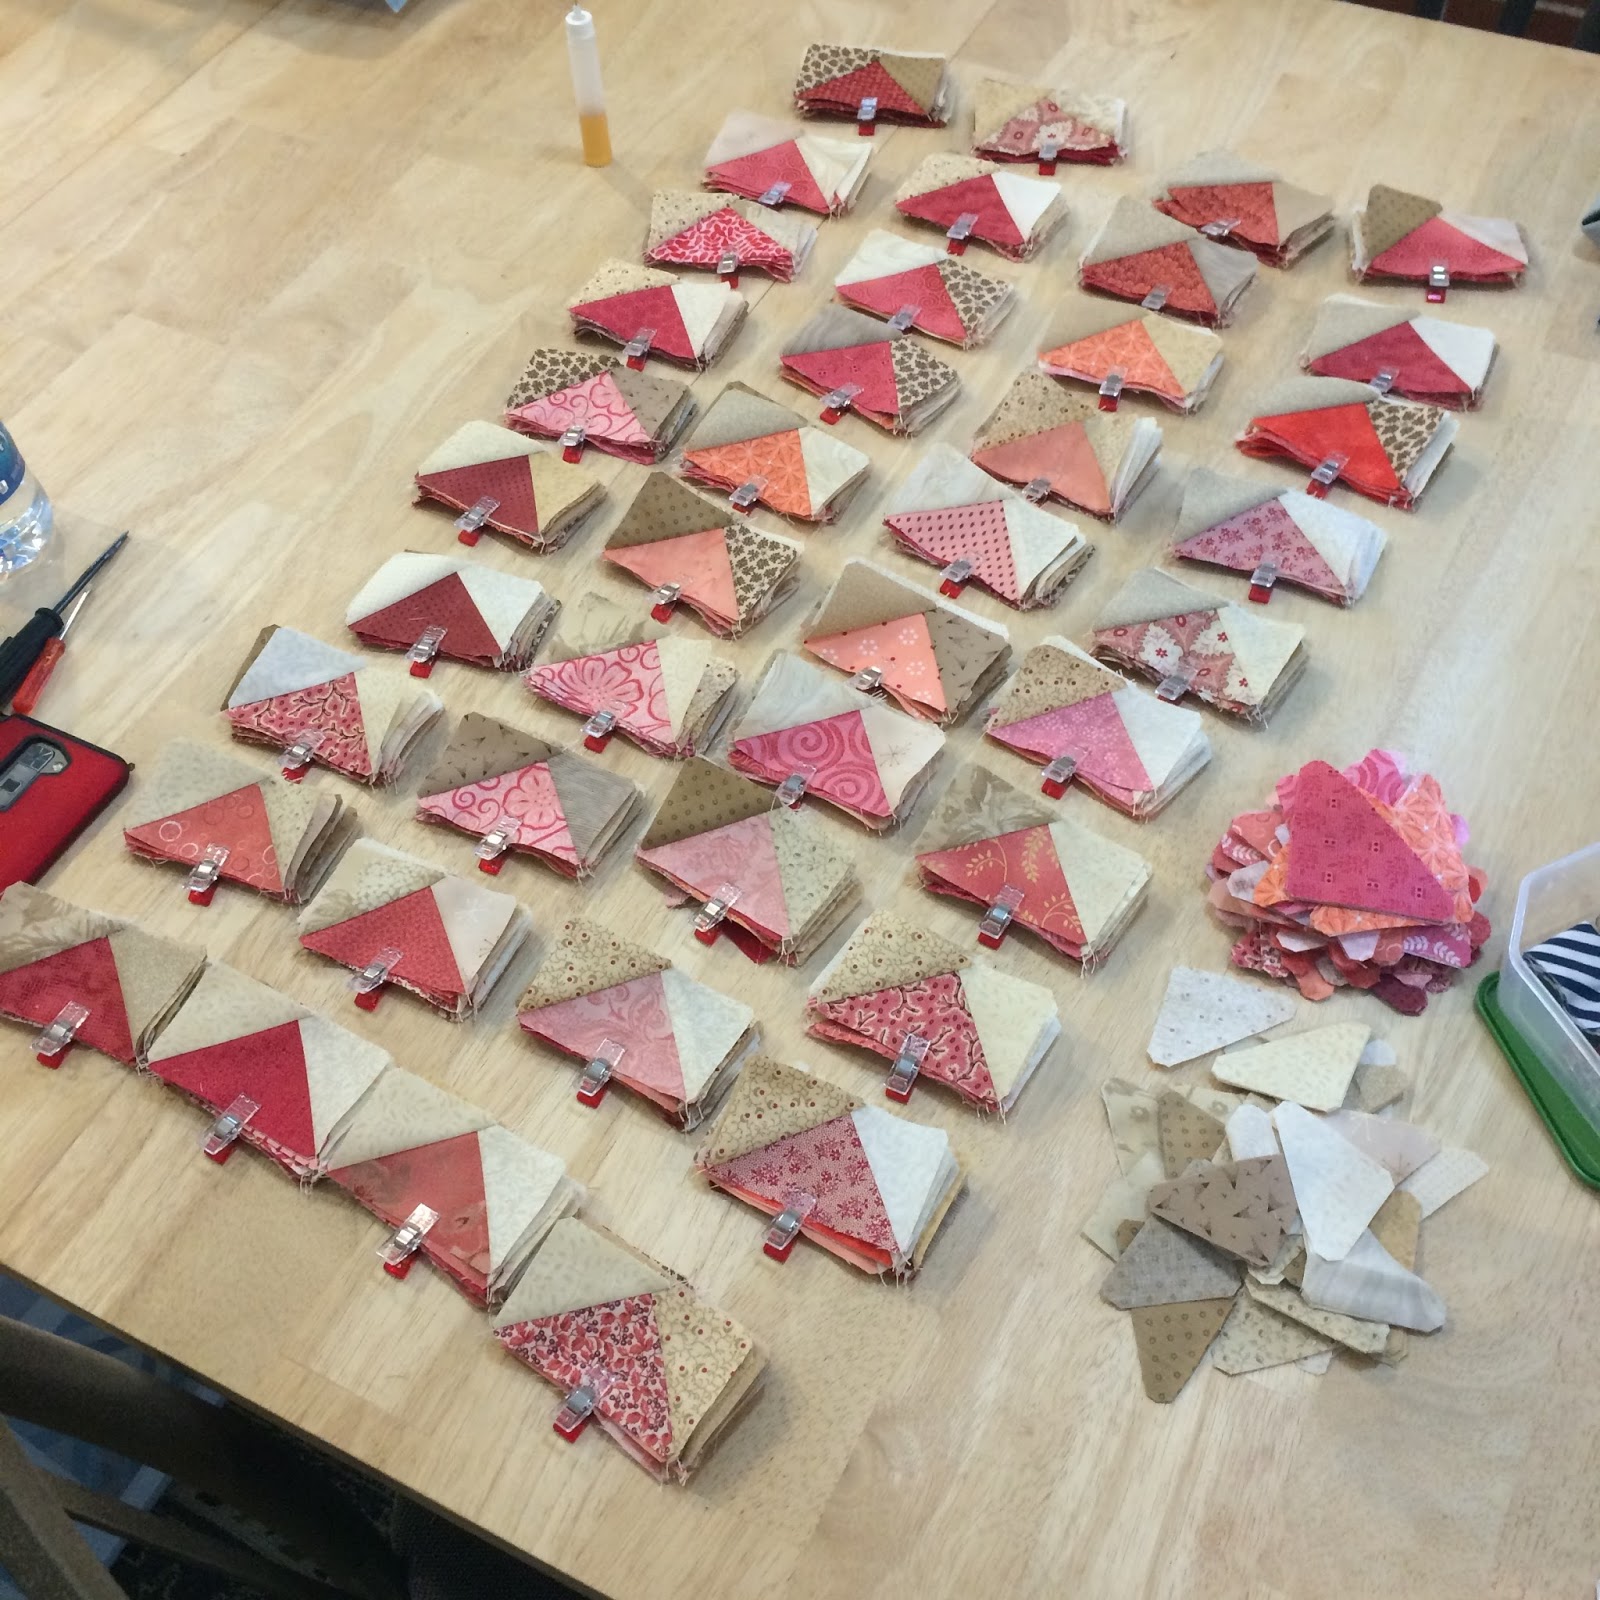
| Webbed rows ready to piece |
 |
| Leftovers (typical size), without borders |
This quilt was a bit unusual, since it was a teaching sample. I pieced half of the quilt during class as a demo (actually I showed up at class with 10 blocks finished, and just pieced half of the blocks, and the top, in the rest of class to "lead the way," so to speak). I wasn't using a charm pack, but instead had fractured a layer cake for this quilt, and had 3 yards of that great Hearty Good Wishes II background fabric on hand, so I could go bigger.
When I came home, I pieced another "half" of the quilt (which is actually the typical number of blocks generated with a charm pack). So, I can demo webbing on half of this quilt, but if I had the whole quilt to make at one time, I'd have webbed the whole thing at once.
 |
| Half already pieced on Saturday, half of the blocks made Monday awaiting chaining/webbing |
 |
| This is the half I'll web. |
Ideally, you web an even number of columns. It doesn't matter how many blocks are in each column, but if your quilt lays out as a 4x5 (like this one does), I treat them like two stacks of five.
 |
| Begin by laying the right-hand block on top of the left-hand block, flipping it so that you'll sew the right seam. Think of it as laying block 2 on top of block 1, if that helps. |
 |
| Flip column 2 onto column 1, and column 4 onto column 3. |
 |
| Pick them up in one stack of 10-seams-to-sew. I pick them up from top left down the first column, then top right down the second column. |
 |
| Chain piece your block pairs through. |
 |
| Ten seams sewn. |
 |
| If you have table space, you can pull them straight out. You'll clip ONE joining thread between the fifth and sixth pair (so that you again have two columns of five block pairs. |
 |
| Open up the Column 1-2 pair, and flip over on top of it the Column 3-4 pairs, again so you can sew the five seams that connect your rows together. |
 |
| I usually do this without even getting out of my chair, but I was trying to show you a clear picture. |
 |
| Because everything is chained together, your pairs of blocks will feed up toward the needle from your lap. Just chain-piece them through. |
 |
| Webbed! |
 |
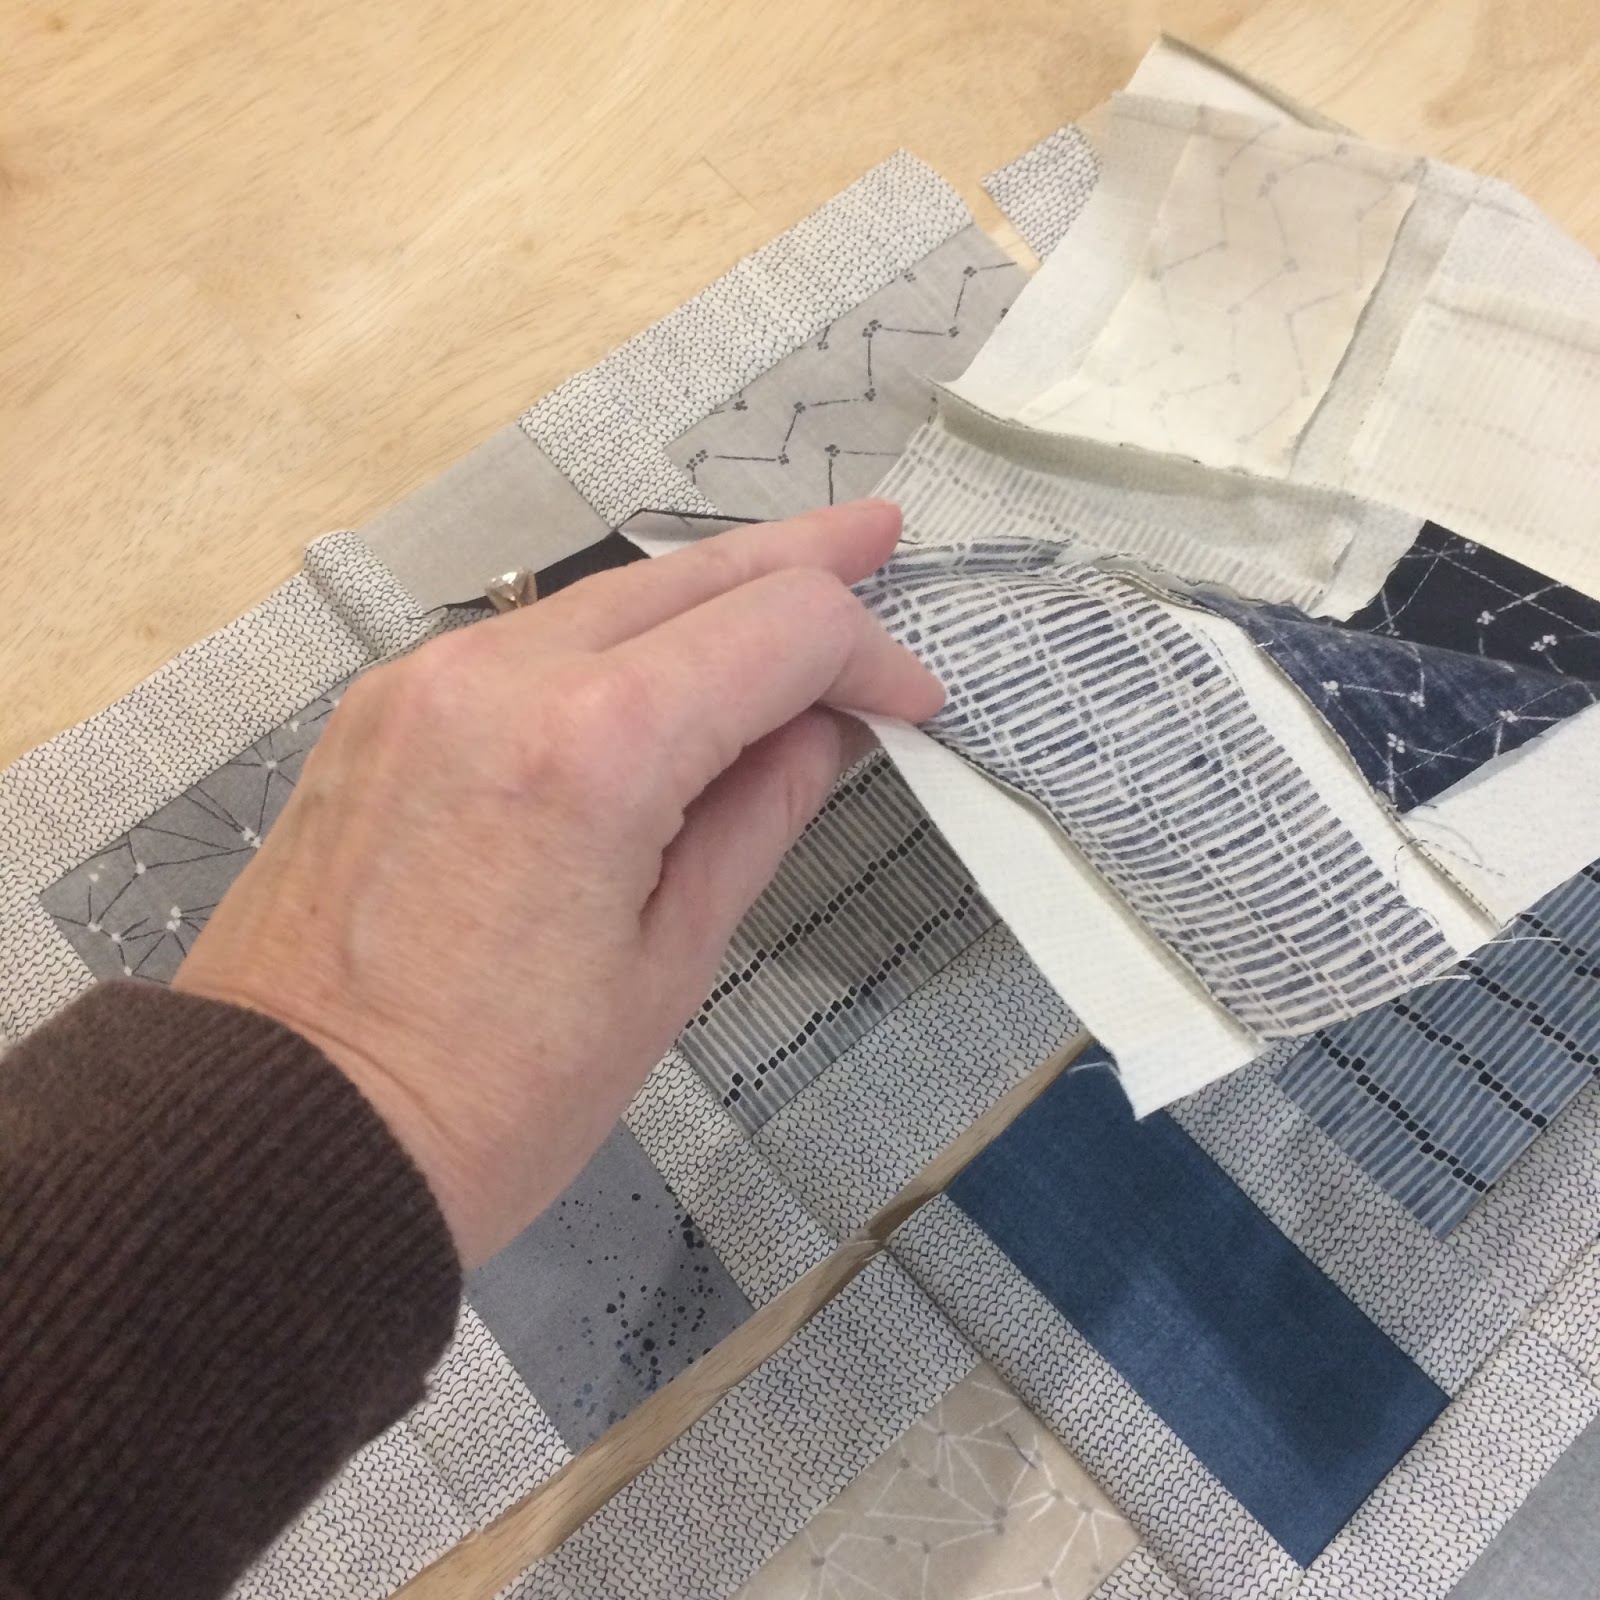
| When you open it out flat, you can see that each seam in the rows are connected by the tiny chain of stitches. Nothing can flip. No row can end up upside down. You can take a break without worrying about forgetting where you are. |
 |
| See the tiny webbing? |
 |
| Now you are ready to just flip a row over on the row next to it, and stitch from side to side. |
 |
| Two seams sewn, and two to go on this half of the quilt! |
 |
| Finished! It is at this point that I iron. Yes, you heard that right...I am just finger-pressing the seams until I have the whole top together. I'm a heretic like that. |
 |
| Here's the quilt before its outside border... |
 |
| And I went with seagulls for the outside border. I'm a longtime Jonathan Livingston Seagull fan. |
I hope this pictorial tutorial helps you understand webbing. It is so powerful! I can web a charity quilt in an hour, usually, and it gets them done and in the frame that much faster. As I told my guild today at our Day meeting, the problem isn't how fast I sew...it's no matter how fast I sew, I cannot seem to sew faster than I shop!